

Anleitung
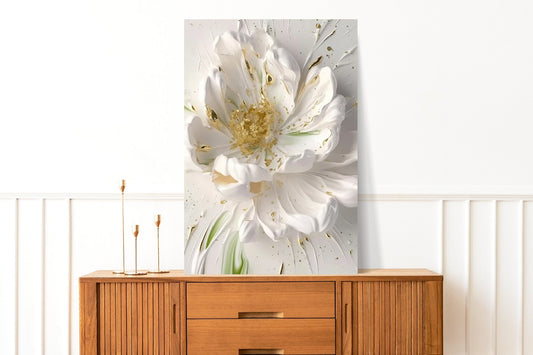
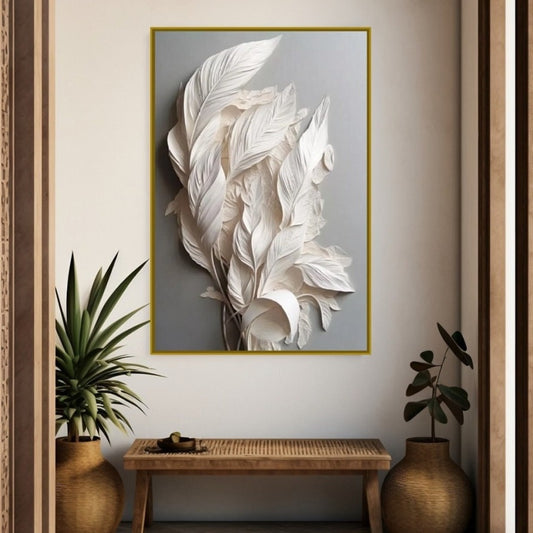
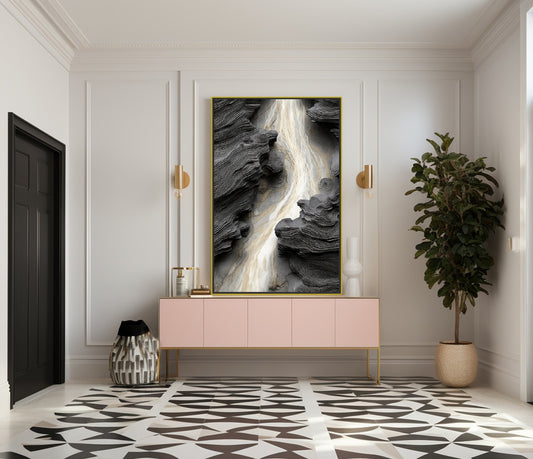
Anleitung zur Installation und Pflege gedruckter Gemälde
Vielen Dank, dass Sie sich für unsere Produkte entschieden haben! Befolgen Sie diese Anweisungen, um Ihr Kunstwerk einfach zu installieren und es jahrelang perfekt aussehen zu lassen.
__________________________________________
Was ist im Paket enthalten?
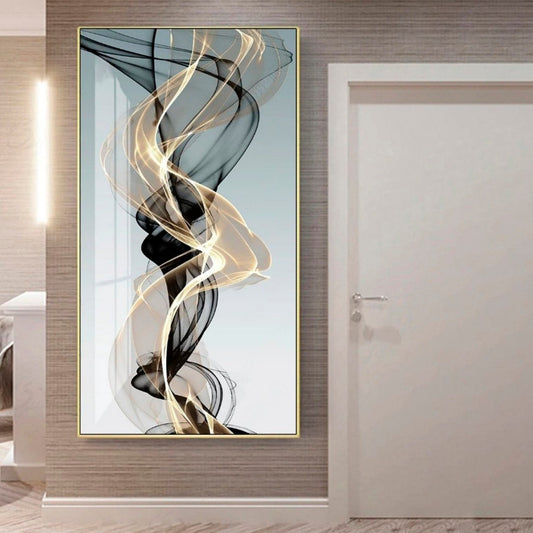
✔ Gedrucktes Bild auf Leinwand
✔ Aufhänger zur Montage
__________________________________________
1. Wahl des Ortes
- Wählen Sie eine glatte Wand, an der das Bild am besten zur Geltung kommt.
- Die kräftigen Farben bleiben auch bei hellem Licht erhalten, daher können Sie das Kunstwerk bedenkenlos gegenüber einem Fenster aufhängen.
- Es verformt sich nicht und verliert auch in Bereichen nahe Heizkörpern, in der Küche oder im Badezimmer nicht sein Aussehen.
__________________________________________
2. Aufhänger anbringen
- Aufhänger sind im Lieferumfang enthalten. Wählen Sie die Befestigungsmethode für Ihre Wand:
- Bei Beton- oder Ziegelwänden: Dübel und Schrauben verwenden.
- Bei Gipskartonwänden: spezielle Dübel oder dekorative Haken verwenden.
__________________________________________
3. Bild aufhängen
- Markieren Sie mit einem Bleistift die Befestigungsstelle.
- Schlagen Sie an der markierten Stelle einen Nagel ein oder schrauben Sie eine Schraube ein.
- Hängen Sie das Kunstwerk vorsichtig an der montierten Halterung auf.
- Falls nötig, richten Sie das Bild mit einer Wasserwaage aus.
___________________________________________
Pflege des Gemäldes
- Mit einem trockenen, weichen Tuch oder Mikrofasertuch abwischen, kann auch mit einem feuchten Tuch gereinigt werden, die Leinwand verträgt Feuchtigkeit gut.
- Keine aggressiven Reinigungsmittel verwenden.
Bei Fragen zur Installation kontaktieren Sie uns gerne – wir helfen Ihnen weiter!
Viel Freude mit Ihrem neuen Bild!
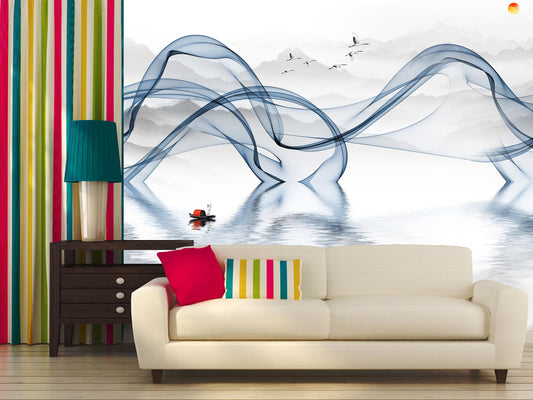
Anleitung zum Bekleben von Fototapeten
(Peel & Stick Standard, Peel & Stick Premium, Canvas Peel & Stick)
__________________________________________
Was Sie zum Bekleben benötigen:
✅ Saubere, trockene und glatte Wand (Putz, gestrichene Wand, Möbel, Glas etc.)
✅ Gummi- oder Kunststoffspachtel
Messer oder Schere
Wasserwaage oder Lineal
________________________________________
1. Vorbereitung der Oberfläche
🔹 Die Wand muss trocken, sauber und glatt sein.
Staub, Fettflecken und Unebenheiten entfernen.
🔹 Bei frisch gestrichener Wand mindestens 14 Tage warten, bevor Sie kleben.
________________________________________
2. Vorbereitung der Fototapete
Legen Sie die Fototapete auf eine ebene Fläche und prüfen Sie das Muster.
Bestimmen Sie oben und unten jedes Bahnteils.
Markieren Sie die Klebestelle an der Wand mit der Wasserwaage.
________________________________________
3. Bekleben der Fototapete
Peel & Stick Standard, Peel & Stick Premium:
1. Ziehen Sie einige Zentimeter der Schutzfolie am oberen Rand der Fototapete ab.
2. Kleben Sie den oberen Teil der Tapete an der Wand, ausgerichtet an den Markierungen.
3. Ziehen Sie nach und nach die restliche Schutzfolie ab und glätten Sie die Tapete mit dem Gummispachtel von der Mitte zu den Rändern.
4. Kleben Sie die Bahnen stoß an stoß. Die Bahnen sollten ohne Lücken eng aneinanderliegen.
5. Bei Blasen glätten Sie diese vorsichtig mit dem Spachtel oder stechen sie mit einer Nadel ein.
Canvas Peel & Stick:
1. Diese Tapete hat eine strukturiertere Oberfläche, daher sollten Sie vorsichtiger glätten.
2. Die Schritte sind wie bei Peel & Stick Standard/Premium, verwenden Sie jedoch ein weiches Tuch oder Schwamm statt des Spachtels, um die Struktur nicht zu beschädigen.
3. Kleben Sie die Bahnen stoß an stoß, vermeiden Sie Überlappungen!
________________________________________
4. Abschließende Schritte
- Schneiden Sie überstehende Ränder mit einem Messer ab.
- Prüfen Sie alle Stellen auf Blasen oder Unebenheiten.
- Lassen Sie die Tapete gut an der Wand haften (mehrere Stunden nicht berühren).
- Vermeiden Sie Zugluft, schließen Sie alle Fenster.
________________________________________
5. Pflege der Fototapete
- Mit trockenem oder leicht feuchtem Tuch abwischen.
- Keine scheuernden Mittel oder harte Schwämme verwenden.
Bei Bedarf lässt sich die Fototapete vorsichtig entfernen, ohne die Wand zu beschädigen!
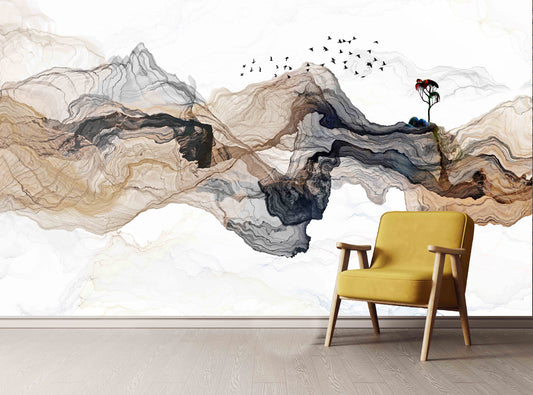
Anleitung zum Tapezieren
(Eco Non-Woven, Vinyl, Canvas)
________________________________________
Was Sie zum Bekleben benötigen:
✅ Kleber für den jeweiligen Tapetentyp
✅ Walze oder Pinsel zum Auftragen des Klebers
✅ Gummi- oder Kunststoffspachtel
✅ Messer oder Schere
✅ Wasserwaage oder Lineal
✅ Schwamm oder weiches Tuch zum Entfernen von Kleberesten
________________________________________
1. Vorbereitung der Oberfläche
1. Die Wand muss trocken, sauber und glatt sein.
2. Staub, Fettflecken, alte Tapeten entfernen und Unebenheiten verspachteln.
3. Bei frisch gestrichener Wand mindestens 14 Tage warten, bevor Sie tapezieren.
4. Es wird empfohlen, die Wand 24 Stunden vor dem Bekleben mit einer Grundierung zu behandeln.
________________________________________
2. Vorbereitung der Tapete
- Überprüfen Sie, ob die Tapete der Bestellung entspricht und keine Mängel aufweist.
- Legen Sie die Tapetenbahnen auf eine ebene Fläche und prüfen Sie das Muster.
- Bestimmen Sie oben und unten jeder Bahn.
- Markieren Sie die Klebestelle an der Wand mit der Wasserwaage.
________________________________________
3. Tapezieren der Fototapete
Eco-Vlies (Vliesstofftapete):
- Der Kleber kann sowohl auf die Wand als auch direkt auf die Tapete aufgetragen werden.
- Verwenden Sie eine Rolle oder einen Pinsel, um den Kleber gleichmäßig auf den Wandbereich aufzutragen, auf den die erste Bahn geklebt wird.
- Bringen Sie die Tapete von oben nach unten an der Wand an und glätten Sie sie vorsichtig mit einem Spachtel oder einem trockenen Tuch.
- Die Tapetenbahnen sollten stoß an stoß geklebt werden. Die Bahnen müssen ohne Lücken eng aneinanderliegen.
- Entfernen Sie überschüssigen Kleber mit einem feuchten Schwamm.
- Wiederholen Sie den Vorgang mit den folgenden Bahnen und achten Sie darauf, dass das Muster korrekt ausgerichtet ist.
________________________________________
Vinyl (Vlies mit Vinylbeschichtung):
– Die Verarbeitung erfolgt wie bei Eco-Vlies.
– Verwenden Sie Kleber, der speziell für Vinyltapeten geeignet ist.
– Ziehen Sie nicht an der Tapete, um eine Deformation des Musters zu vermeiden.
________________________________________
Leinwand (strukturierte Tapete):
– Der Kleber kann auf die Wand und/oder direkt auf die Rückseite der Tapete aufgetragen werden.
– Verwenden Sie ein weiches Tuch statt eines Spachtels, um die strukturierte Oberfläche nicht zu beschädigen.
– Kleben Sie die Bahnen stoß an stoß – überlappende Kanten vermeiden.
– Entfernen Sie überschüssigen Kleber vorsichtig, ohne stark zu reiben.
________________________________________
4. Abschließende Schritte
- Schneiden Sie überstehende Ränder mit einem Messer ab.
- Überprüfen Sie alle Stellen auf Blasen oder Unregelmäßigkeiten.
- Lassen Sie die Tapete 24 Stunden lang bei Zimmertemperatur und ohne Zugluft trocknen.
________________________________________
5. Pflege Ihrer Fototapete
- Eco-Vlies: Mit einem trockenen oder leicht feuchten Tuch abwischen.
- Vinyl: Mit einem feuchten Schwamm und milder Seifenlösung reinigen.
- Leinwand: Nur trocken reinigen.
- Verwenden Sie keine scheuernden Reinigungsmittel oder harten Schwämme.
________________________________________
Wenn Sie alle Empfehlungen befolgen, behält Ihre Fototapete lange ihr schönes Aussehen und wird zu einem stilvollen Element Ihrer Einrichtung!